
 Firebase Collection:
As you have know there are multiple collection has been used in firebase. Let's see what is the use of the collection and how it added
Note: If any error occur regarding QuerySnapshot then check in firebase if missing any below
                                                                Required config is
                                                                missing if not then check there field and datatype and key word same to same
                                                                as given in document
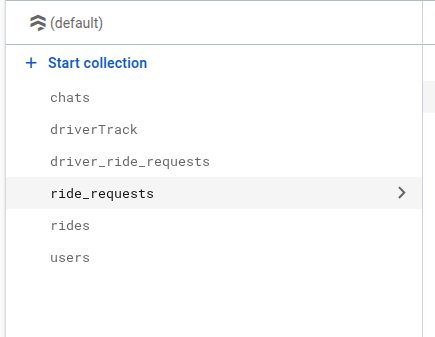
There are 5 collections created in the firebase
- chats - [Auto generate]
- driverTrack - [Auto generate]
- driver_ride_requests - [Auto generate]
- ride_requests - [Auto generate]
- rides - [Auto generate]
- users - [Auto generate]
Let see detail about all the collections.
NOTE :
In above collection list [Auto generate] means this collections are
generate in firebase whenever any first user enter any data
. For other collections need to add manually in firebase. See the below 2
options for add collection data in firebase.
There are 2 ways to import Data in Firebase
- By Import Json which we have provided
- Collection Data add manually
* By Import Json which we have provided :- OPTION 1 *
NOTE :
Before import json in firestore database remember to Configure or create.
See the Firebase Rules for create Firestore
Database and how to give
permission
in firebase.
Also you can check below video for how to import json in firebase:
VIDEO URL :
https://youtu.be/Jd0sW8Wrc5Y?si=AxC6BmWBFwZfZU4a
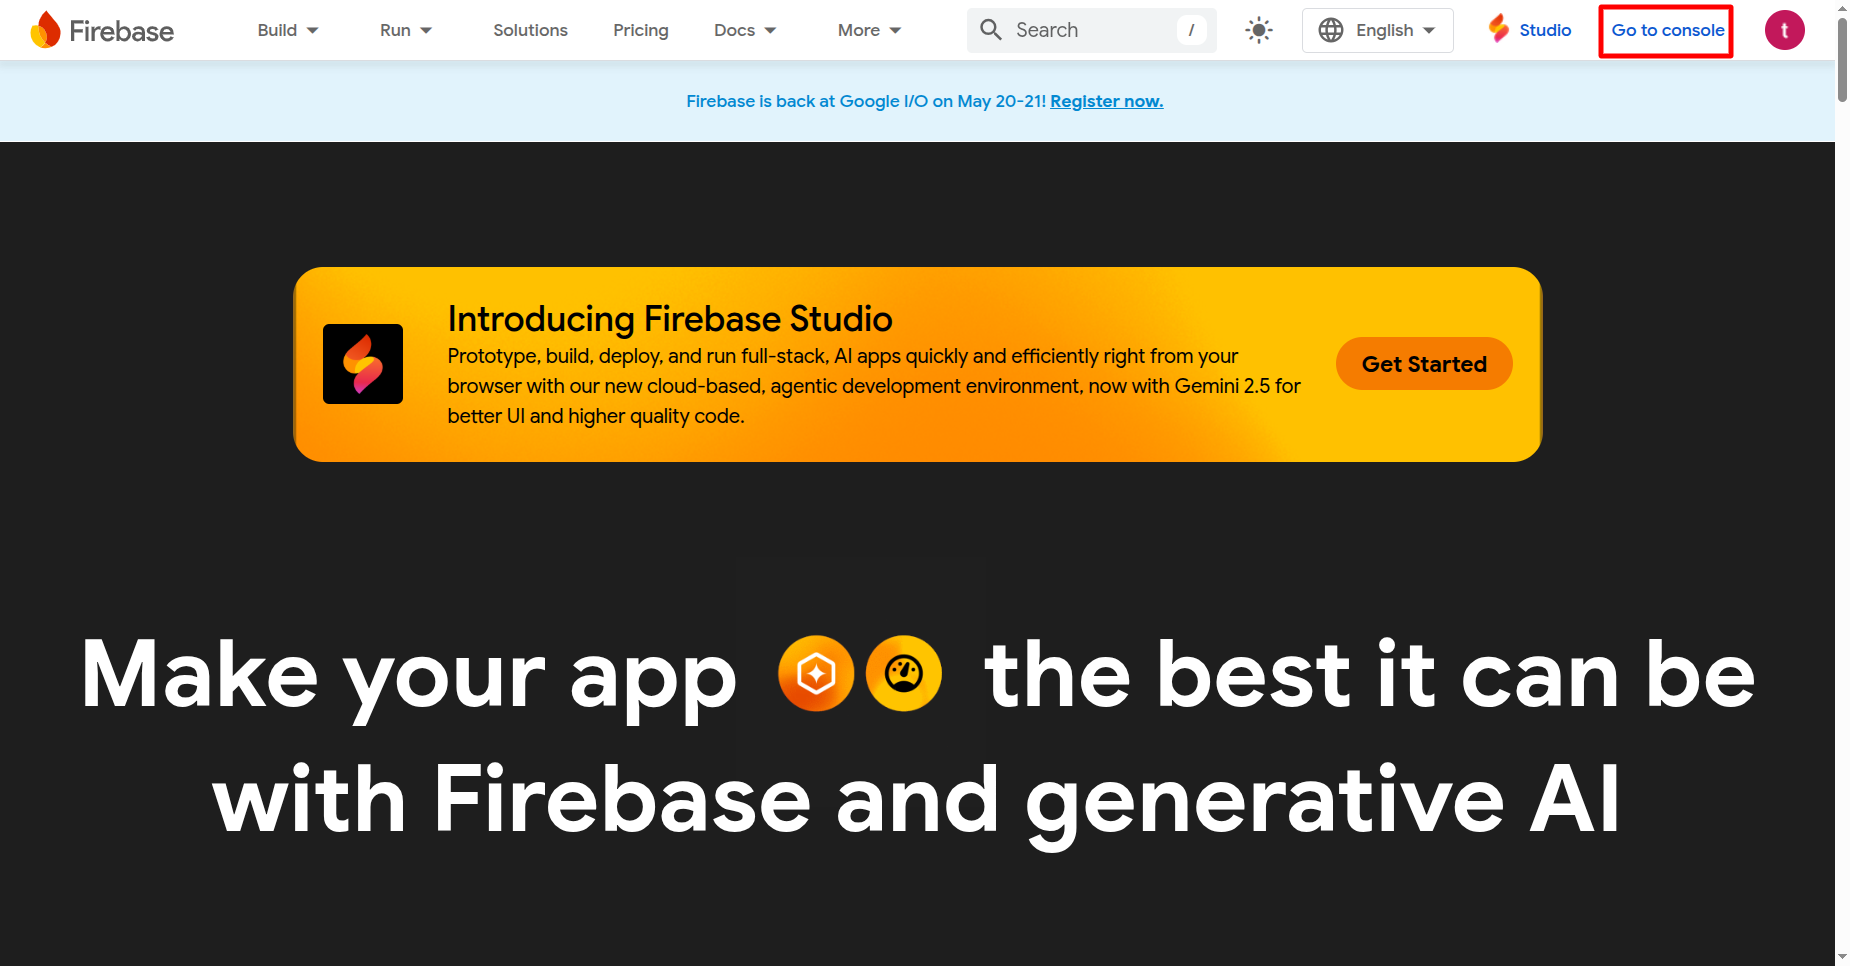
- Go to Firebase Console
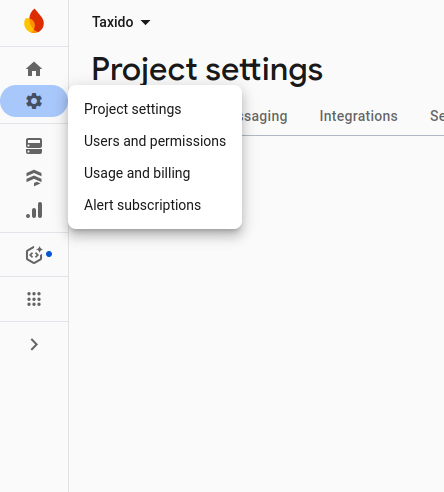
- Now go to your Firebase project, On left hand side panel click on setting
icon. On click Setting button pop open open. In that click on Project
Settings
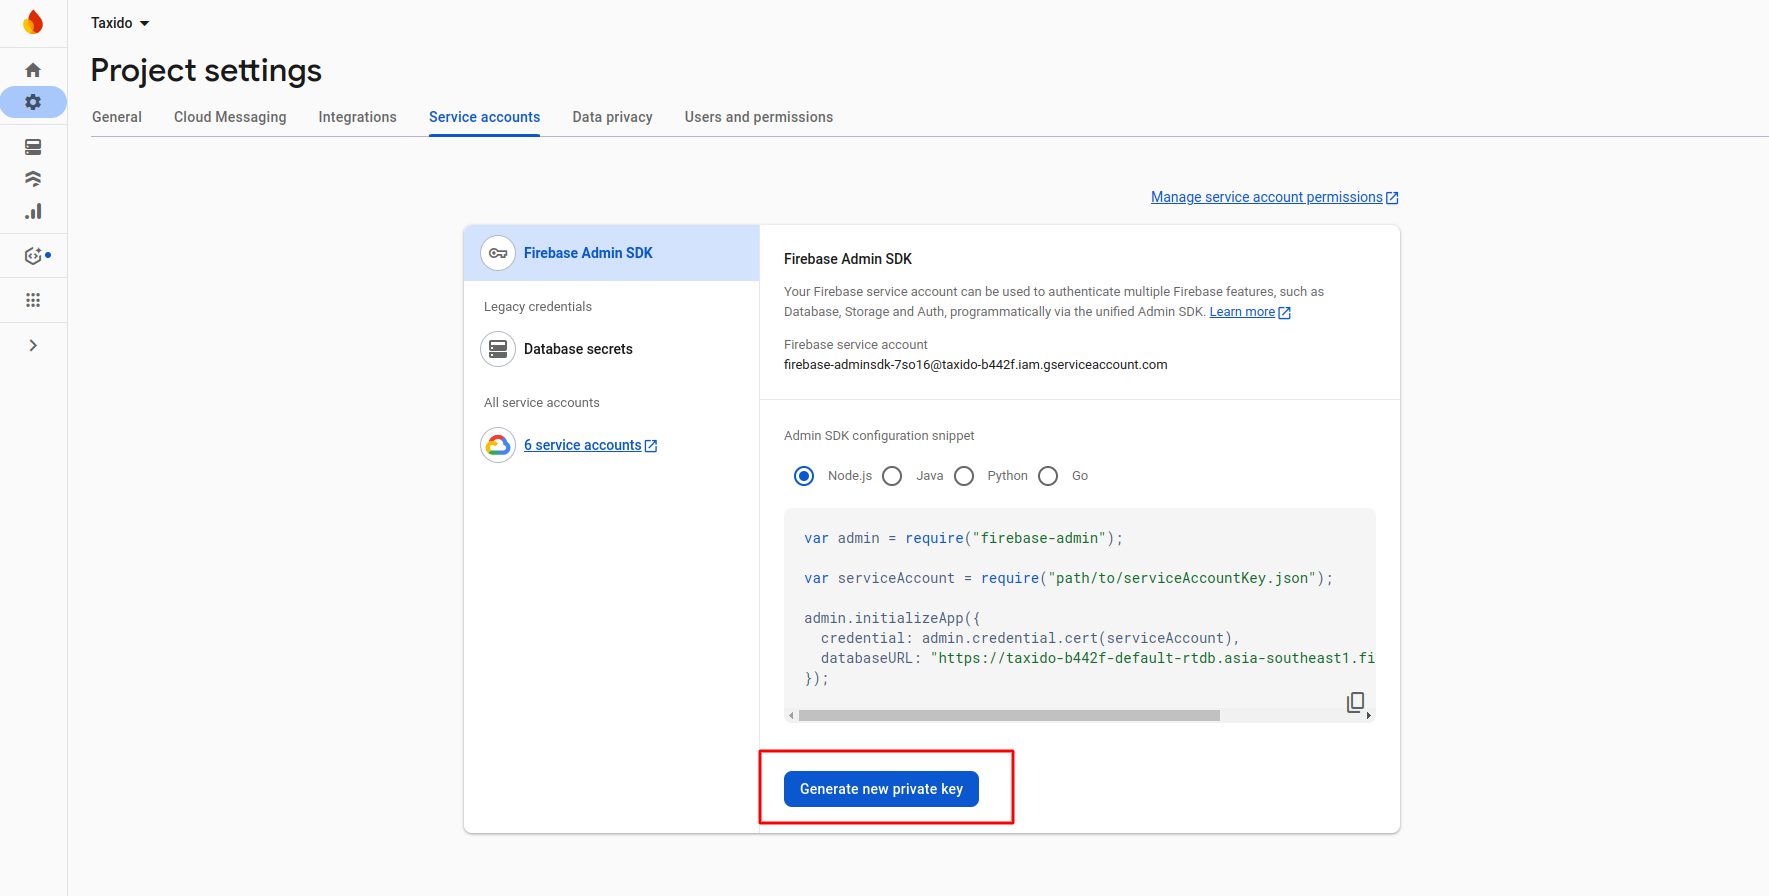
- Now go to Service accounts
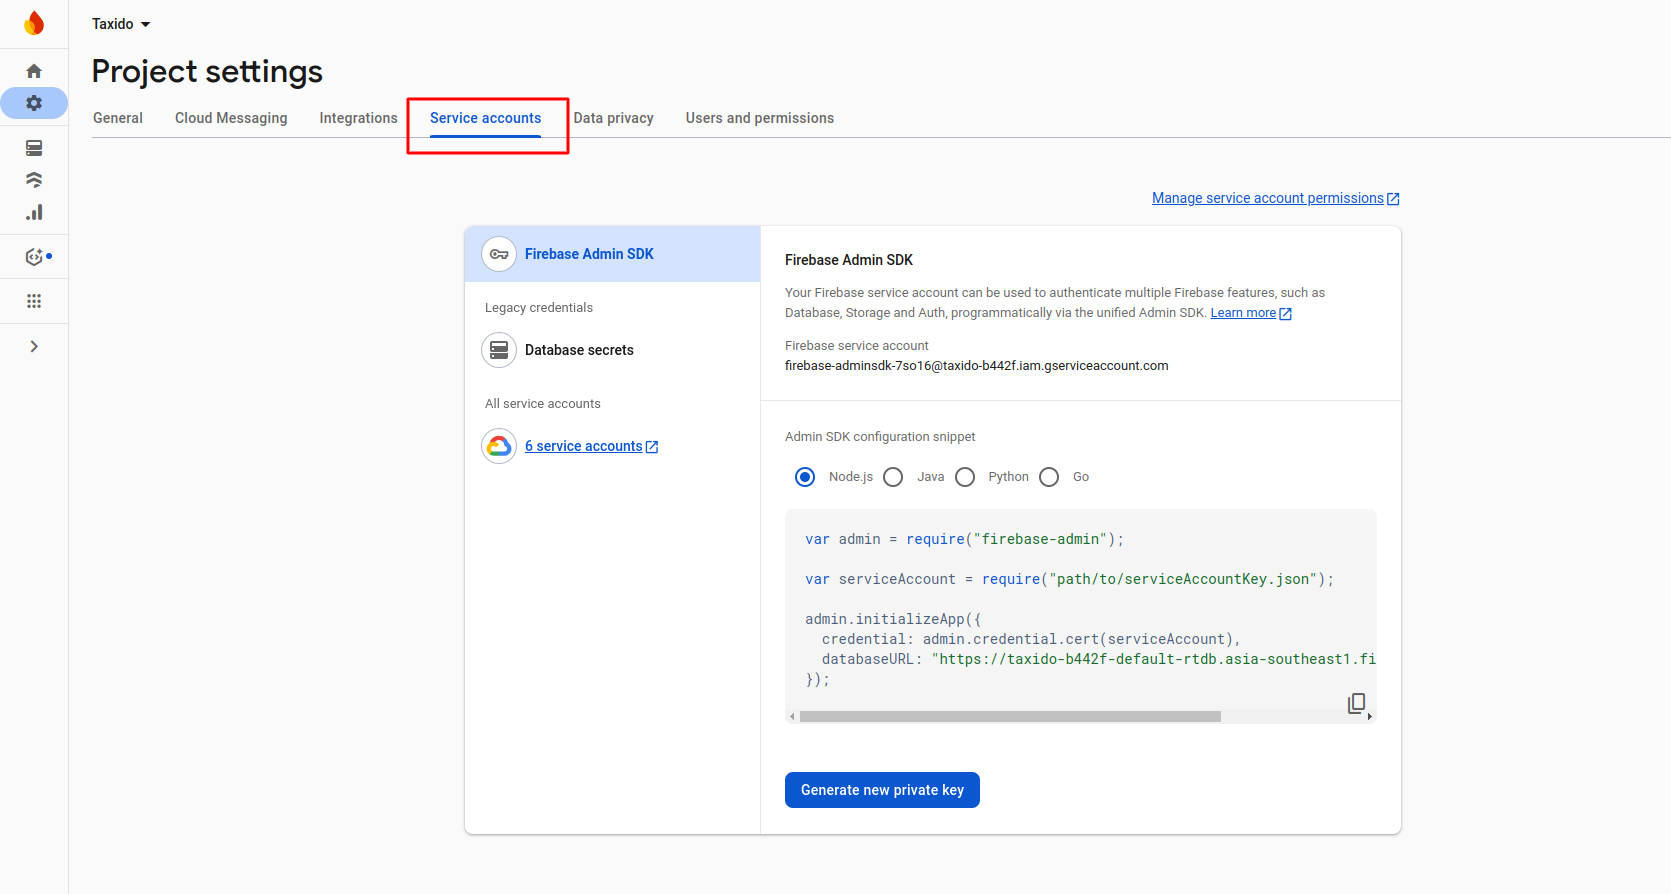
-
Now click on button Generate new private key
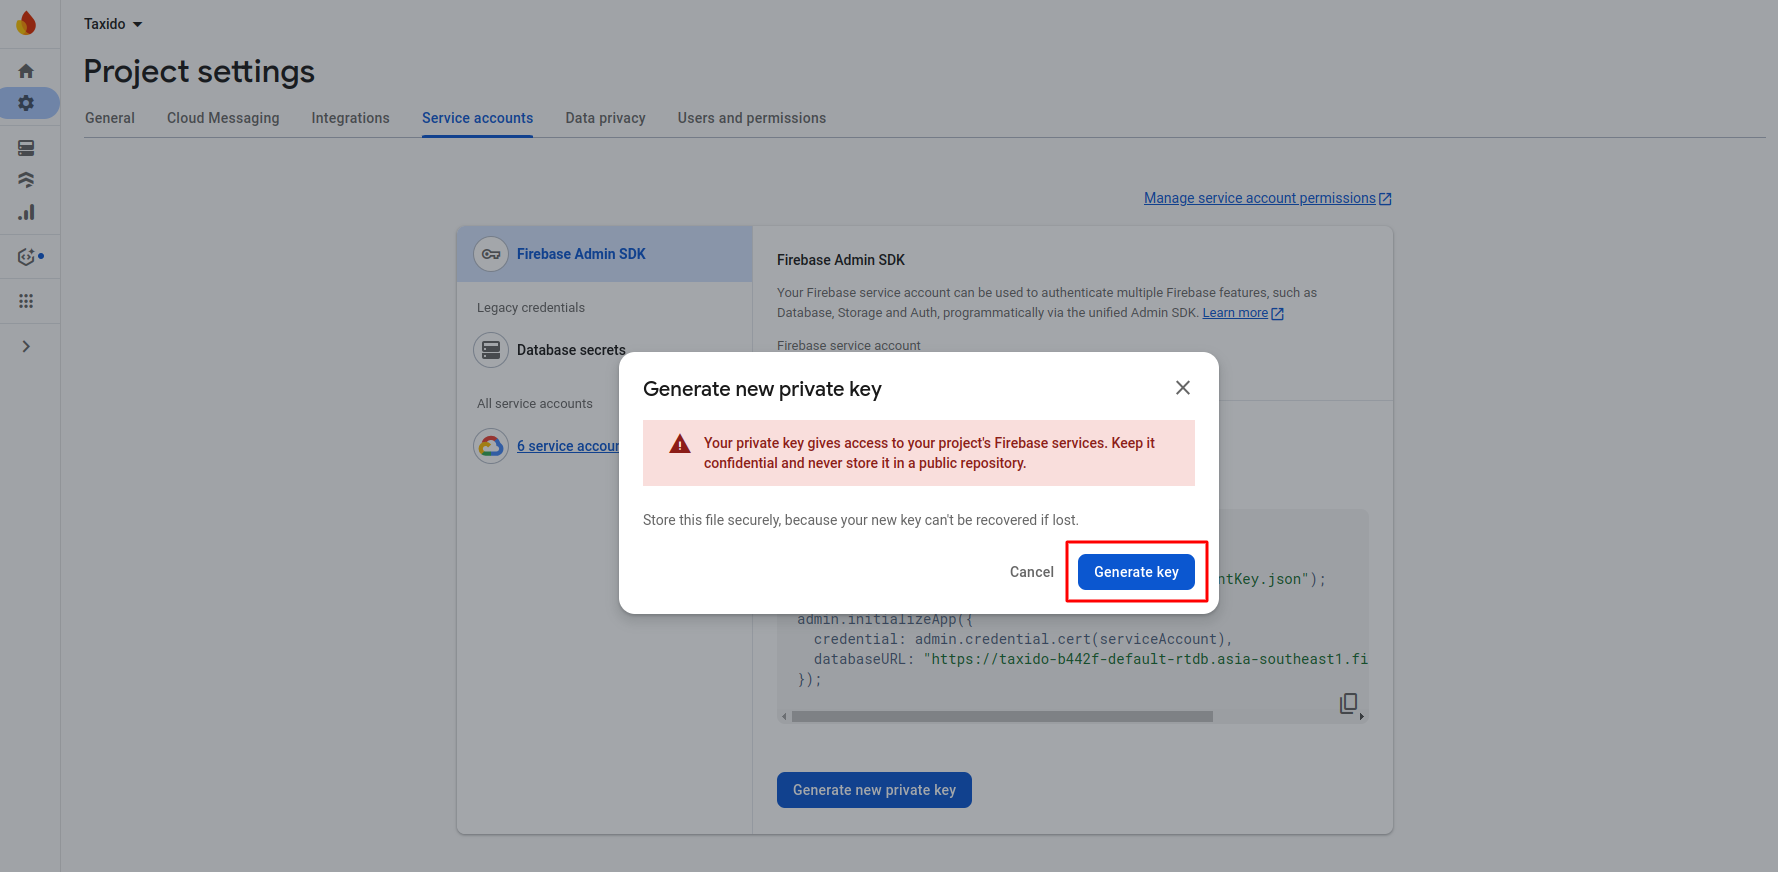
-
After click on button on pop-up appear int that click on Generate
key
-
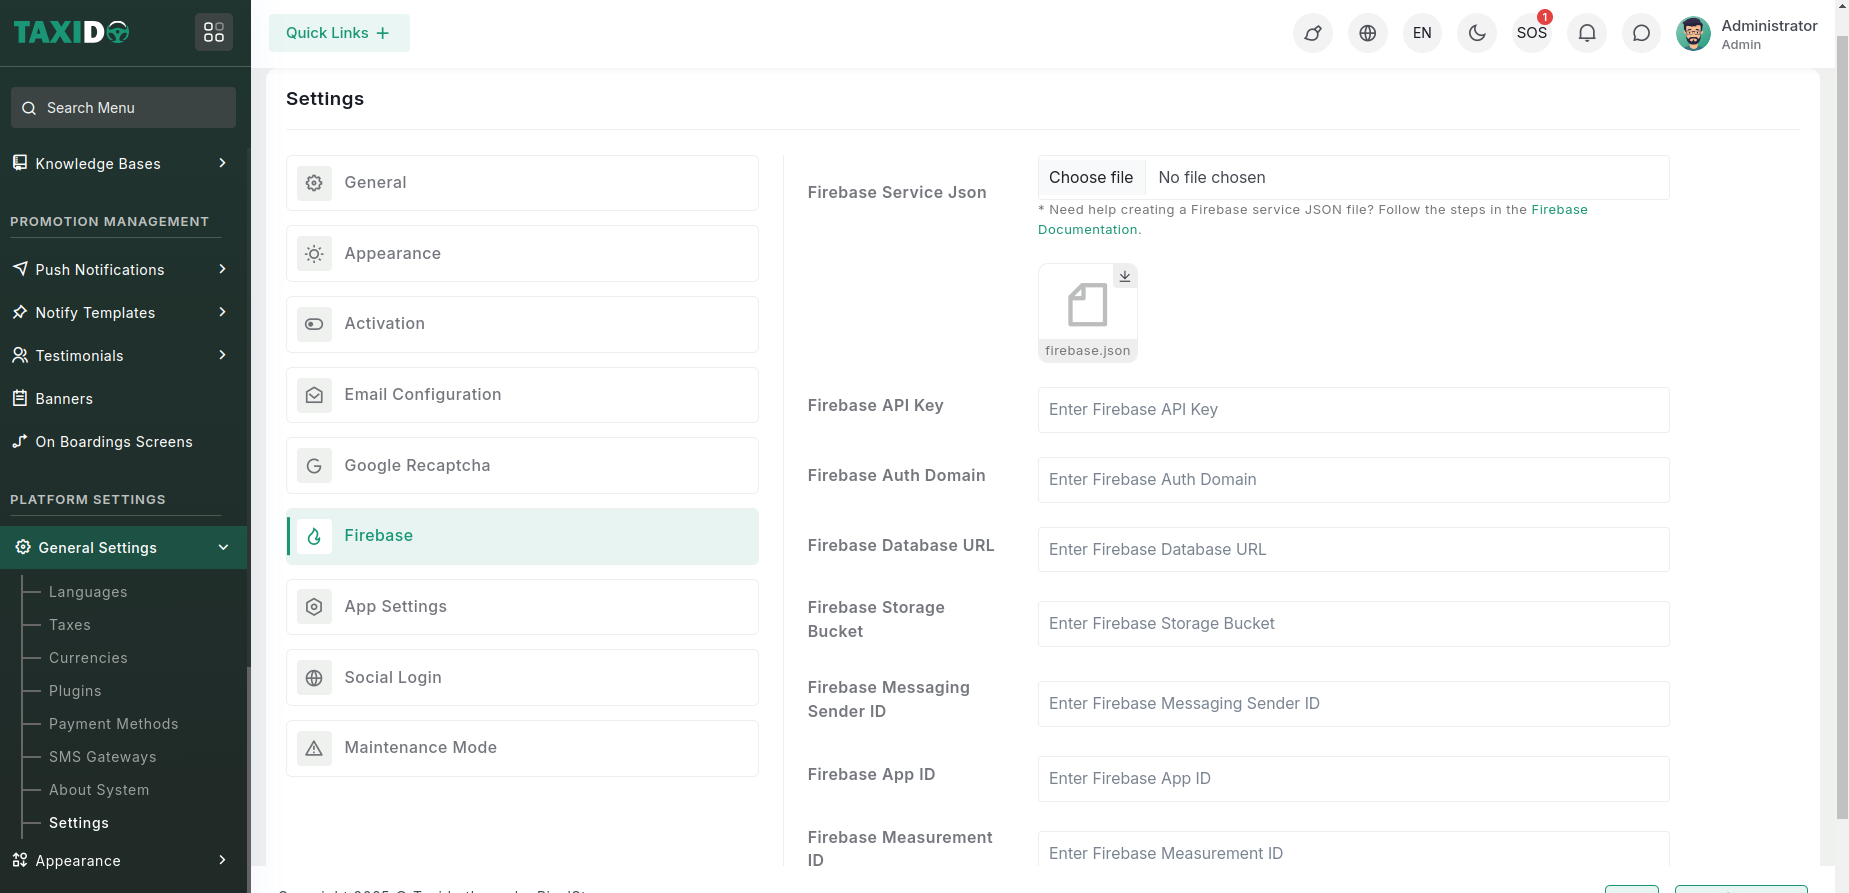
After clicking on Generate Key, a
.jsonfile will be downloaded. You need to upload this JSON file in the Firebase settings section as shown below: -
Firebase API Key: Used to identify your Firebase
project when using client-side SDKs.
Find it in: Firebase Console → Project Settings → General → Web API Key -
Firebase Auth Domain: Domain used for Firebase
Authentication (usually ends with
.firebaseapp.com).
Find it in: Firebase config JSON →authDomain -
Firebase Database URL: URL to access your Firebase
Realtime Database.
Find it in: Firebase Console → Realtime Database → Database URL -
Firebase Storage Bucket: Used to store user files like
images or documents.
Find it in: Firebase config JSON →storageBucket -
Firebase Messaging Sender ID: Unique ID used for
Firebase Cloud Messaging (push notifications).
Find it in: Firebase config JSON →messagingSenderId -
Firebase App ID: Unique identifier for your application
registered with Firebase.
Find it in: Firebase config JSON →appId -
Firebase Measurement ID: Used for integrating with
Google Analytics (optional).
Find it in: Firebase config JSON →measurementId
Note: All the above Firebase fields must be updated from the Admin Panel Settings section to ensure proper functionality of Firebase chat and push notifications.